Wednesday, December 19, 2018

Christmas Quilting and Other Stuff

I've been having a little trouble with photos on Blogger lately. That's my excuse and I'm sticking to it. (My sister said "Don't you blog anymore?? What's wrong?") Oh, just give me a call sometime, ha ha. Yes, I've been too lazy to blog. Here are a few things I've been working on this month - Christmas trees and Snowflakes.


You can find the free pattern for the block for this tree mug rug on my website under Free Patterns or in the Files section of my Facebook and other small quilt group.

We had a cute Mystery quilt challenge for December in my Facebook small quilt group. It was a surprise snowflake based on this antique quilt block that was probably cut from a larger quilt and made into a doll quilt. I crafted my own pattern for it using small nine-patch blocks and strips. The pattern is in three parts in the Files section of the FB group and also in Files for my online small quilt group.


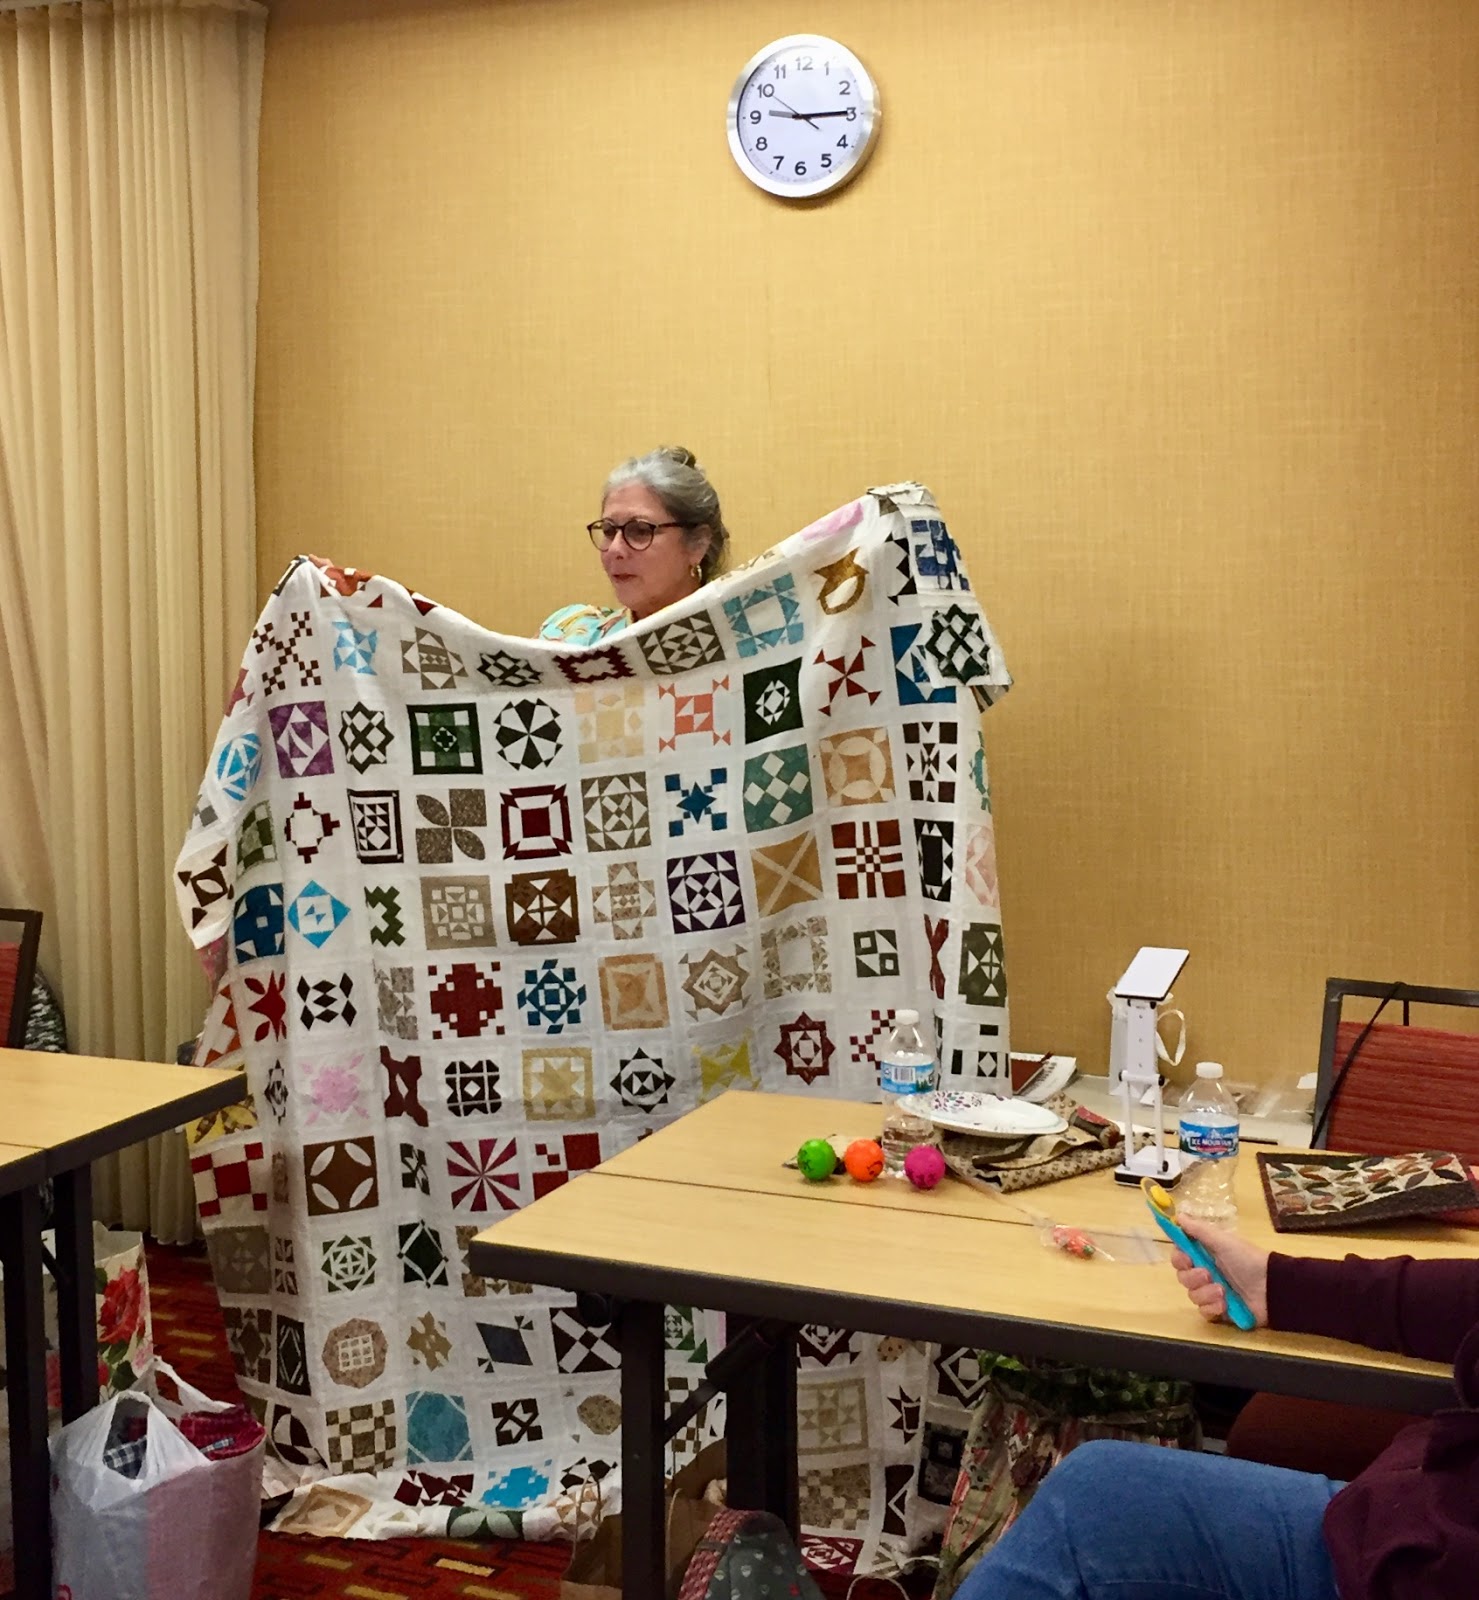
My top is finished but I haven't had time to quilt it yet. This one was made (rather quickly!) by Sue Bennett. So adorable.


 The real reason I haven't finished quilting my snowflake quilt -


I found some little trees made by Anna Jantina on Instagram and needed to make some for myself.  I could not read her directions since her post was written in Dutch so I drafted my own paper pieced pattern. You can also find that pattern in the Facebook group files. I'm hoping to make enough for a little forest! But even one tree block standing alone makes a cute ornament or mug rug, don't you think? If you're on Instagram just search her name and you'll find her tree quilt. If you're not on Instagram, why not? It's fun, quick and easy and that's probably where I post most of my pictures nowadays. Grab your phone, sign up and follow me there. 


If you don't do paper piecing, try the pattern that Amy Smart put up on her blog Diary of a Quilter for patchwork trees. Very cute and slightly different from mine. 


Some little Christmas stitched ornament patterns from a few years ago that are also available (for purchase) on my website. (The bird is actually a Gail Pan design, not included with my ornaments.)


I started a new Christmas cross stitch (an old Prairie Schooler design called Woodland Santas) and had hoped to finish it this year (hah!) but wouldn't you know it I got slightly distracted by making my little trees . . . .


 Here's hoping that all of you are having a wonderful holiday season. We had a magical snowfall in the Chicago area a few weeks ago but that didn't last very long. I grabbed the chance to get out in it for a bit. All I want for Christmas this year is more snow! And new boots . . . .


Puppy got her new Christmas sweater just in time! I have a red jacket too so now we all match.


Friday, November 9, 2018

First Snowfall

"The first fall of snow is not only an event, it is a magical event. You go to bed in one kind of a world and wake up in another quite different, and if this is not enchantment then where is it to be found?"  - J.B. Priestly


The first snowfall of the season always thrills me and makes me feel like a child again.


Is it fall or winter? 


I think it's going to be a good day for sewing . . . .  


Finishing up my stars and will put them together into a quilt early next year. 


Still need to sew a border on this one before we begin a new Mystery Quilt in 2019 -


Have a great weekend!


Monday, November 5, 2018

Dear Jane Progress

Marian and Jeanne brought their finished DJ tops to my retreat here in the Chicago area last month. What an inspiration that was!


Seeing these lovely quilts really motivated me to get back on track and finish putting all of my own blocks together. So, now my Dear Jane quilt is half sashed. I'd say half finished, but I still have to make the triangles. Sashing first - or maybe I'll take a break from that and make some triangles. Who knows? I do have to tell you that I am so proud of myself for not giving up! It's been "only" eight years since I started my Jane journey . . . . 

So, if you think you're finished with that DJ when you're actually not, or you thought of starting one but never did, there's still hope. Drag it out or buy the book and make a plan. Believe me, it will be worth every frustrating stitch. Make sure you take advantage of every website and tip available. The Dear Jane website has lots of tips and lessons to help you so check it out. When I first started making mine, I printed out the lessons and tips and placed them in a notebook. Lots of help there if you find you're struggling. The Dear Jane software by EQ was also invaluable to me. There are lots of lessons and tips included with that too. It's a stand alone software so you don't need Electric Quilt for it to work. That Quilt is another good resource for making the blocks. Then, just take it block by block, one at a time, and they'll add up. 


The very first Dear Jane quilt I saw up close, made by Karan Flanscha of Iowa, had 1/2" blue cornerstones. I was impressed with the way they looked in the quilt and so decided to use the cornerstones in mine too. 


Some of my early blocks look rather wonky. I was never happy with the way my first version of this F-13 block turned out. It's different from Jane's original block. See? When I made it years ago, I followed the design in the book, not the pic of Jane's block (duh) and it's slightly different. It's always bothered me that the circles don't touch. Silly of me perhaps, but I took the time to redo it last week and now I like it much better and in brown. I knew it would always bother me if I didn't change it. And it really didn't take long. I use the starch and no-melt templates method of applique to make the shapes, then stitch on by hand. That's pretty fast and easy with a little practice. Makes applique fun too.

So here's my almost half-finished quilt. I'm sewing it into unequal quadrants and then sewing the quadrants together. Two down . . .


*  *  *

Fall has arrived here in the Chicago area but it's leaving fast . . . . Glad I was able to get out to a local forest preserve one day last week to take some pics before all the leaves fell. I think I missed the really vibrant colors by a couple of days.


Have a good week - Don't forget to vote tomorrow! 


Saturday, September 8, 2018

Scrappy Stars Sew Along

I decided I really needed to make a simple, scrappy lap quilt so I started  making some 6" stars for it. I challenged myself to make the blocks by the end of  this year, a few at a time. Then sew them together into a quilt in January or February. I'd like to get it done before the winter is over so I can actually use it.


I know from experience that if I really want to accomplish something, I'm better off starting small, then build up momentum as I go along. Start like gangbusters and I'll be stressed out and unproductive in no time. If I set small goals for myself, like, say, just make a few blocks a week, I might actually get something finished. These blocks will add up. They're so much fun to make. I've already gotten 12 done in less than 2 weeks. No stress, just having some fun. I'm also trying to finish my larger 3" nine-patch lap quilt at the same time and so alternate projects.


For this one I need 30 diagonal rows. I've already gotten 15 rows sewn together but still have to add the rest to this finished part. Little at a time. . . . 

Anyway, I've challenged some in my Facebook group to sew along with me on the stars. I'm aiming for 50 - 60 blocks but you are all welcome to join me and make as many as you like. Make 6 star blocks and put them together into a small quilt. Or, make more for a larger quilt. Just see how it goes. It's fun to see what everyone has made and the fabrics they've used. 


I'm trying to make at least 5 blocks per week, give or take. I know there will be some weeks I'll get nothing done. But, by the end of the year, I should have a very nice pile of stars. Then I'll decide on the setting. I'll probably alternate the stars with plain squares. Indigo, maybe. We'll see.

Join our sew along and get the printable star pattern in .pdf format here


Or, here are some simple cutting directions to make one 6" block - 

Cut one  3 1/2"  x  3 1/2" square for the center
Cut eight 2"  x  2 "  squares for the star points
Cut four rectangles - 2"  x  3 1/2" - for background
Cut four 2"  x 2" squares for the background corners

This will give you a finished 6" x 6" block. 


I like to choose my fabrics one day, cut the pieces, lay them out on a cutting mat, set the mat aside and then sew another day. So far so good. 


Before you know it, they'll accumulate.

The small quilt challenge for September is American Crossroads from my new book, A Prairie Journey. You can order a signed copy here.


Saturday, August 25, 2018

Vintage Sewing Machine Base

Remember that vintage sewing machine I showed you a couple of weeks ago that needed a base? Well, I finally found one and I'm extremely happy with it. My machine fits inside the box perfectly. Workmanship is excellent. Cherry wood. It's exactly what I was looking for. It even has a little compartment for storage.  I bought it on Etsy from this guy.  Don't you love it??


Love the engraved Singer logo.


 I bought a 1/4" foot for my OTHER vintage machine recently and I expect it will fit this one as well. So I'm all set now.


Of the two, I love this little baby best.


Okay, so now I have two vintage machines. That's it. I have a tiny sewing space and hardly any room at all so I am NOT starting a collection, I am NOT starting a collection . . . .

Enjoy the weekend.


.

Related Posts with Thumbnails